Mac Case Mod
I thought I should create a page somewhere for the case mod I did which was done way back in May 2003!
Unfortunately, I did not take any photos of actually doing the mod due to not having a decent camera to take the photos with, as you will see with the photos taken afterwards. Also, it was done in my student room at uni and actually getting decent shots while carrying out the work - there simply wasn't the space!
To the Mod!
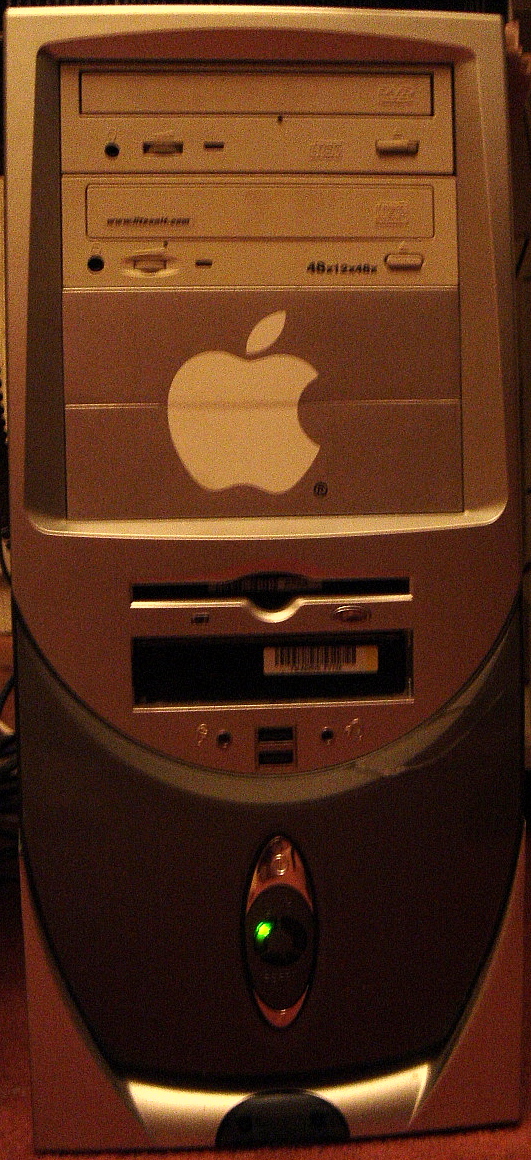
Why did I do it? I mean take a look at the case I had before:
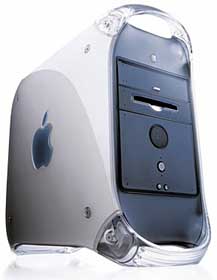
What's the problem? It's a lovely looking case, with a quick release door, and I even had the matching CRT monitor, but...
There were a few things:
Only one 5 1/4" drive bay - I wanted a DVD drive and a CD burner, but i wanted them both internal. My CD burner at the time was a 4x USB 1.1 (that's low speed in modern nomenclature), with no way of getting anything faster without buying an external Firewire CD burner which at the time was about £300. I didn't want to spend that much. My initial plan was to get a £50 CD burner 52x and put it into the external USB case, but run it off the IDE cabling. I looked into this, and it can't be done due to weird and wacky IDE limitations - I did try and was actually making my own IDE cables to make it happen. But it didn't work. I did the sums, and it worked out cheaper to buy a cheap ATX case.
There was also the problem that the case was very restrictive with what you could fit it - sure i could put extra hard drives in, but only if I wired them up a certain way, and I couldn't put decent cabling in.
And finally, I felt like a challenge
So, I sourced my case - £28.50 off ebay including postage - and it came with a free ATX power supply too! It was cheap, it was steel, but it had 4 x 5 1/4" bays, a slot for a floppy drive, and lots of other 3 1/2" bays.
I had a pre-written guide from Xlr8yourmac.com
And I'd bought the 40cm ATX extension cable that the guide suggests from yourstores.co.uk for £12 +VAT = £17.99: it was item number 030427-0000119826 but i'm not sure if it still is
My housemate, his friend who owned a drill (we'd need to do some drilling!) and myself got to work.
Thanks to the technical manuals for my mac I was able to take it completely to pieces, and then we drilled the holes in the new case to seat the motherboard. Screwed everything in, put some arctic silver on the processor to give it a new lease of life so it wouldn't burn up. And well, i'll let the photos speak for themselves - note in all photos click the thumbnail to see the larger photo:
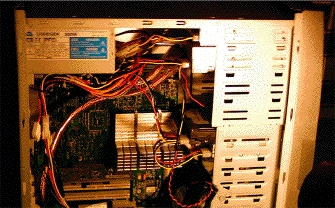
Photos of the initial Mod - as you can see the photo quality isn't great
The ATX power supply that came with the case is in there, but it broke down 6 months later, and I now have the original Apple one
You will also note that the wiring looks fairly neat in that it doesn't look like a plate of spaghetti
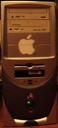
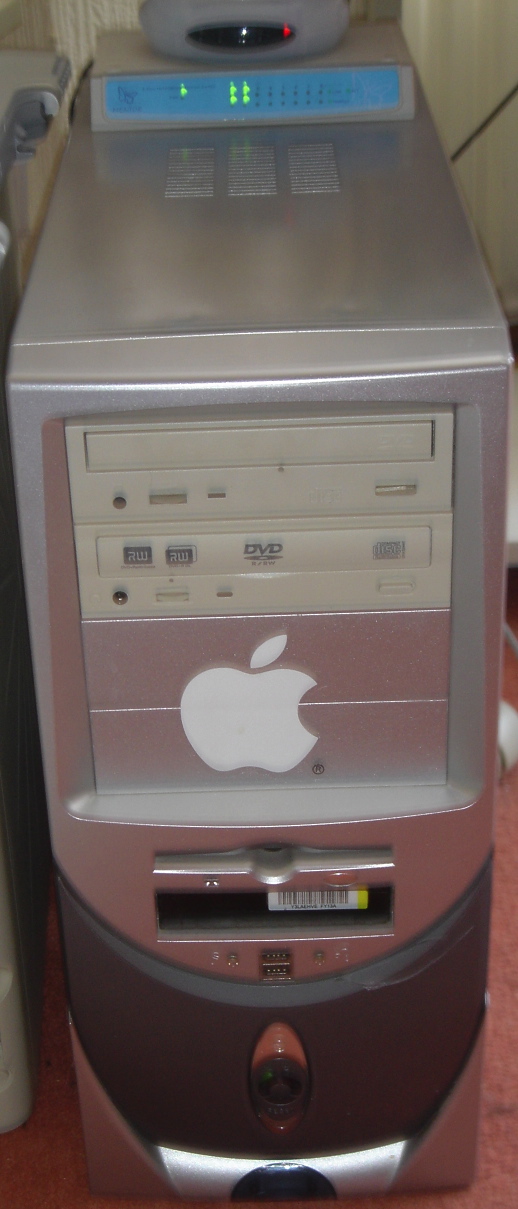
This is the front of the case in it's initial incarnation, but with an extra hard drive installed instead of the zip drive in the original spec - it's a Maxtor 120Gb drive. I'd also added an Apple sticker to the front to remind me it's a Mac!
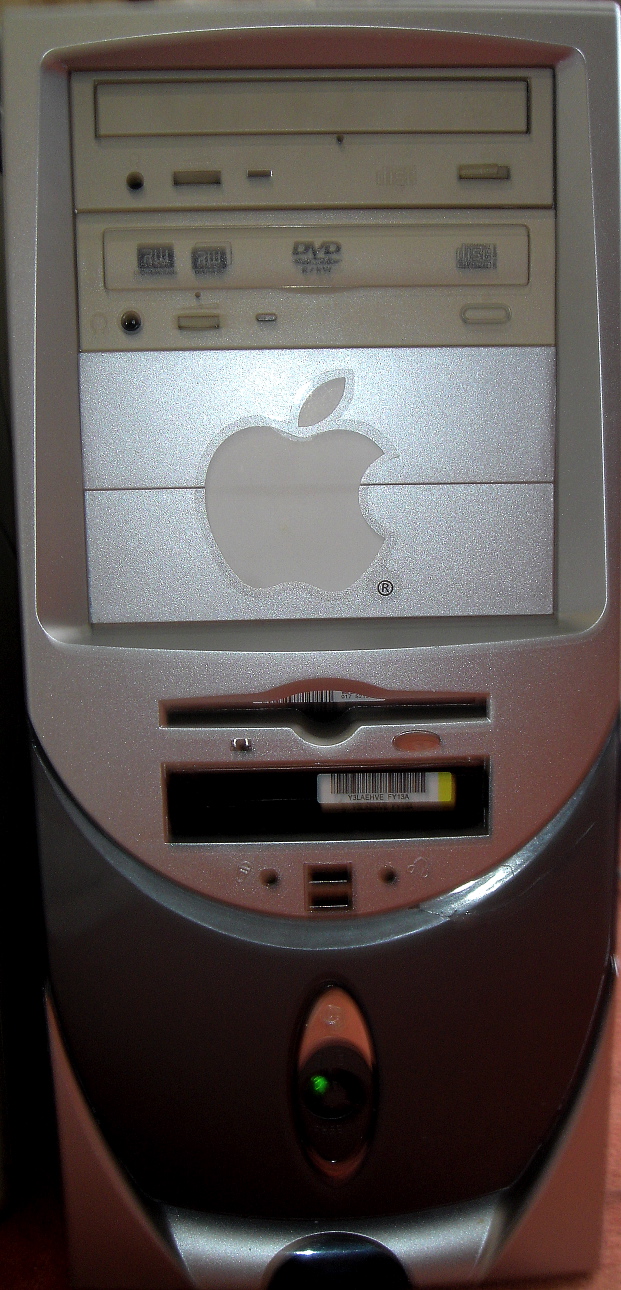
The following photos were taken on 16th December 2005 and are much better photos taken in natural light.
The first two photos show the front, now with a DVD burner where the CD burner was, and also shows the network switch & the USB to ADB adaptor on top. The 2nd photo also shows the vent for the exhaust fan at the top
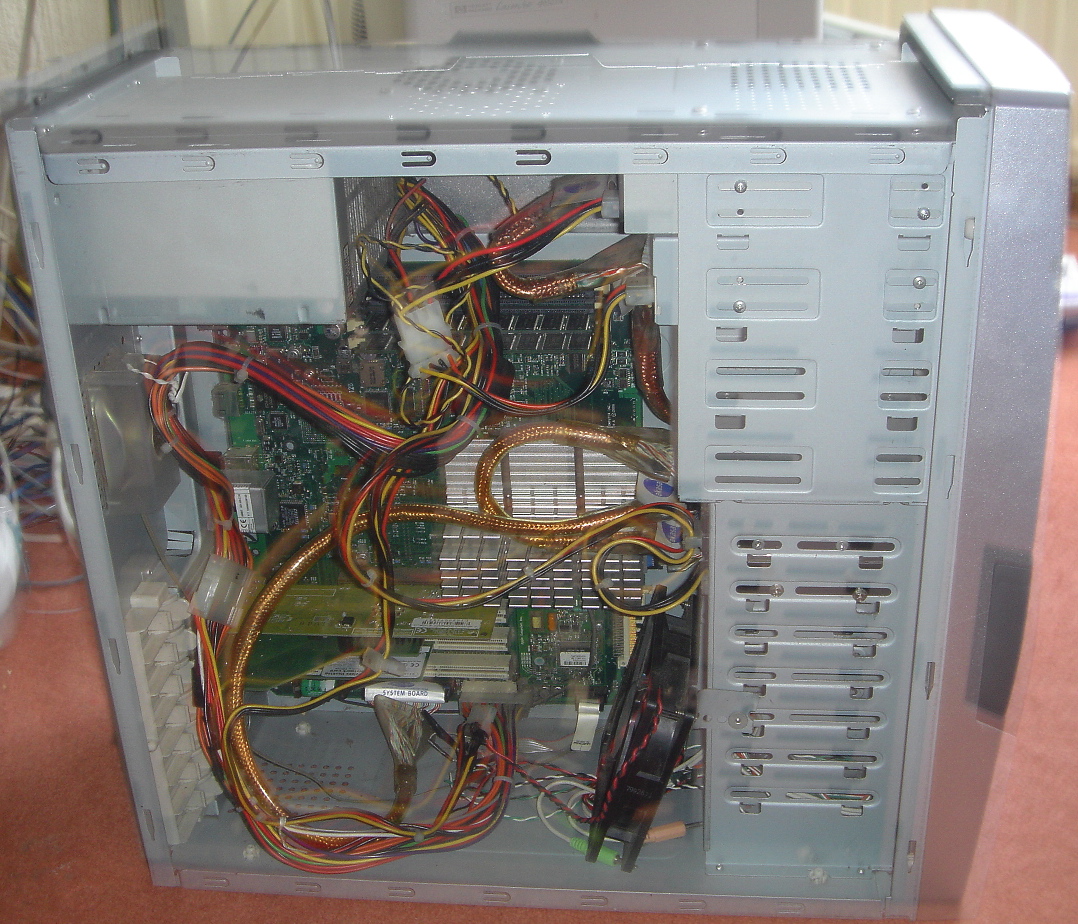
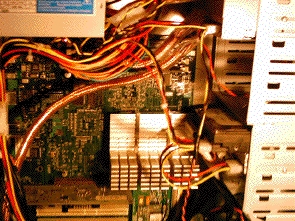
The next 3 photos show the current insides. These were taken while my mac was still running - this mac was designed to do this since the original case had a quick release door.
You will notice in the first of the three photos that there is no back panel as the apple one would not fit, and the PC one did not match. There are a load of loose wires at the bottom which are for wiring up sound in/out ports at the front. The on board soundcard does not have anywhere for these to go so they just got pushed into a corner.
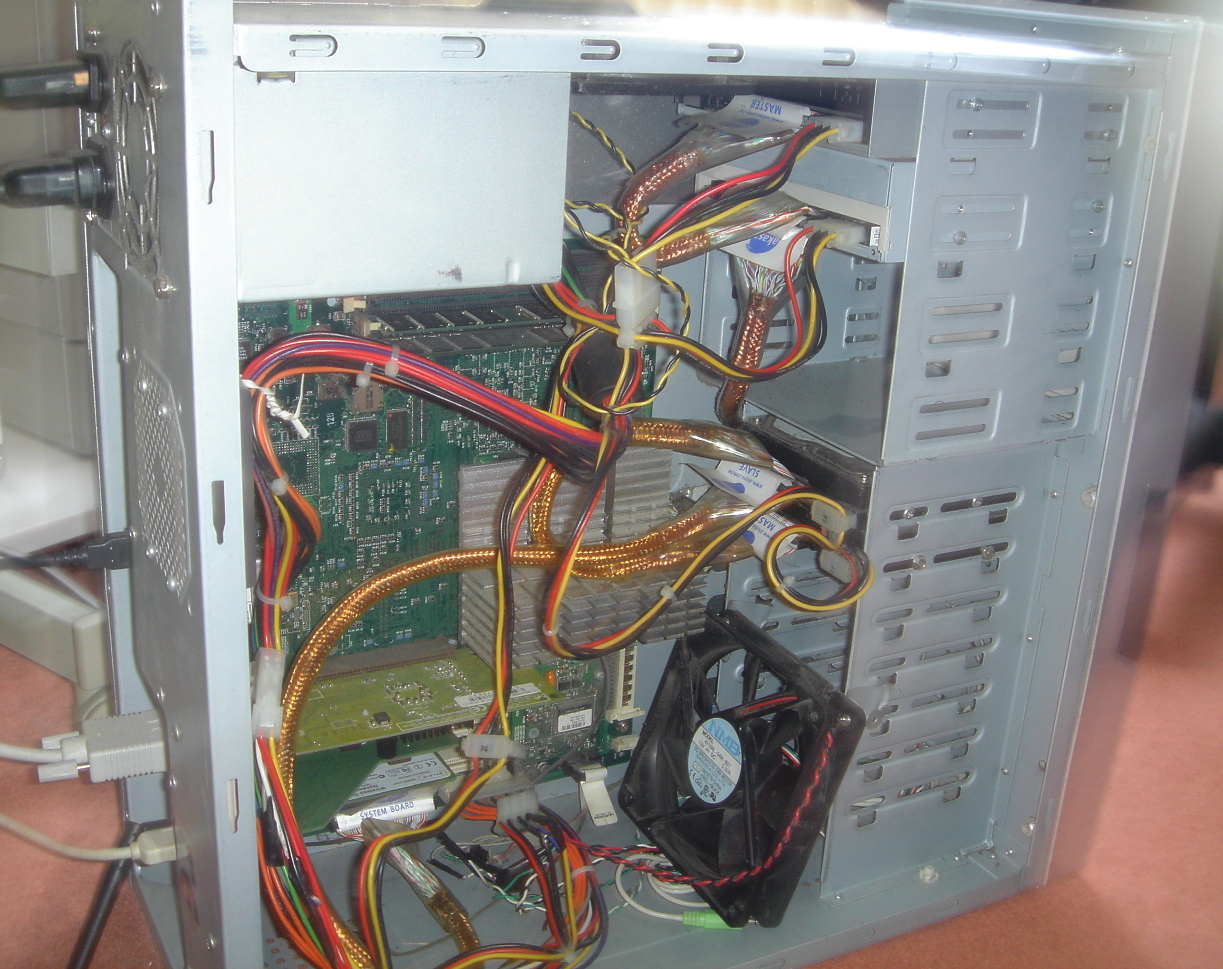
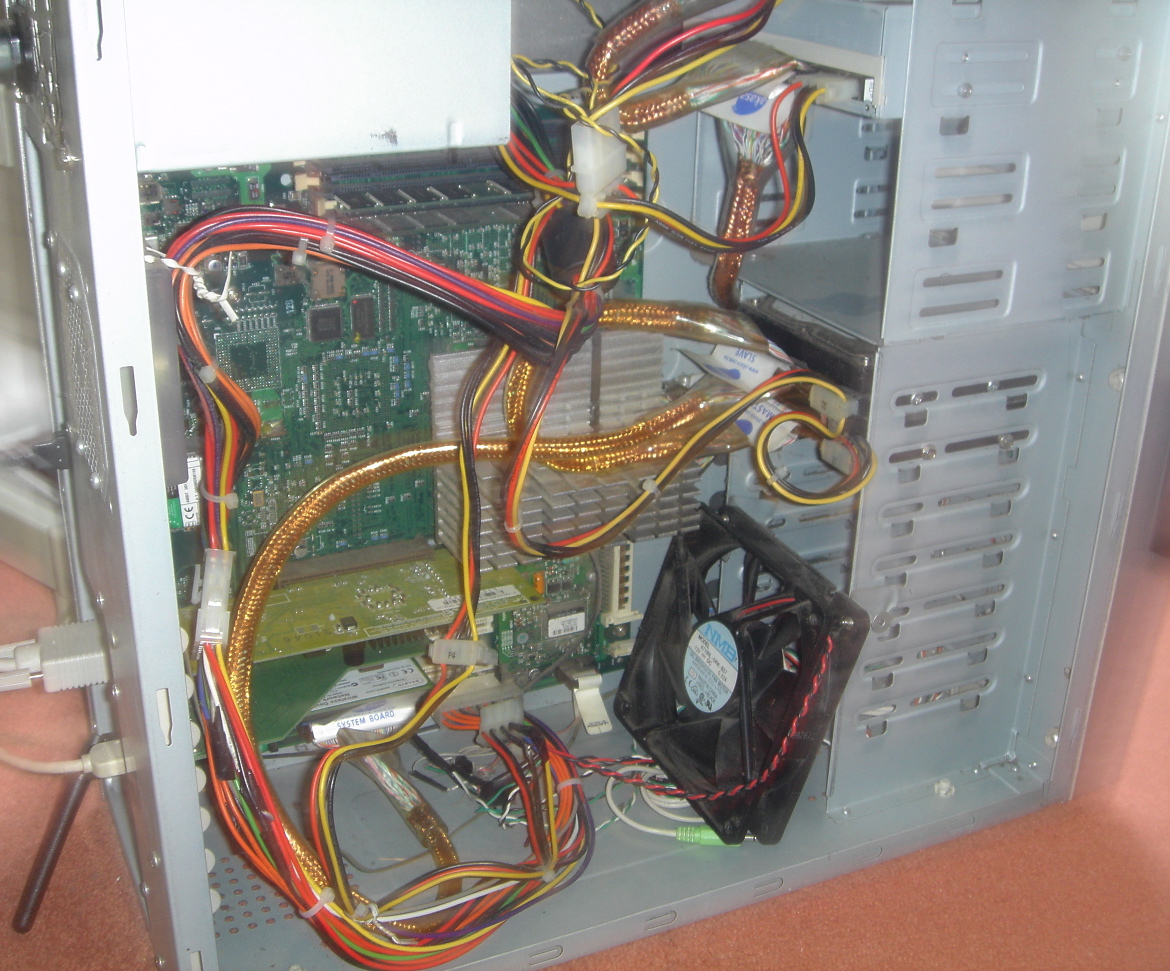
The 2nd and 3rd photos show where the drives are located and also how the main fan is bolted in to get maximum airflow over the processor. There is a 2nd fan at the top of the case for taking the warmer air out. The main fan also cools the graphics card (in the brown slot to the left of the processor) and the rest of the case.
The ATA cables are good quality copper Akasa cables, while the rest of the power wiring is a complete mess - particularly the main system board cabling and the power for the fan which is mostly held together with electrical tape! It is also very dusty in there & could do with a bit of dusting
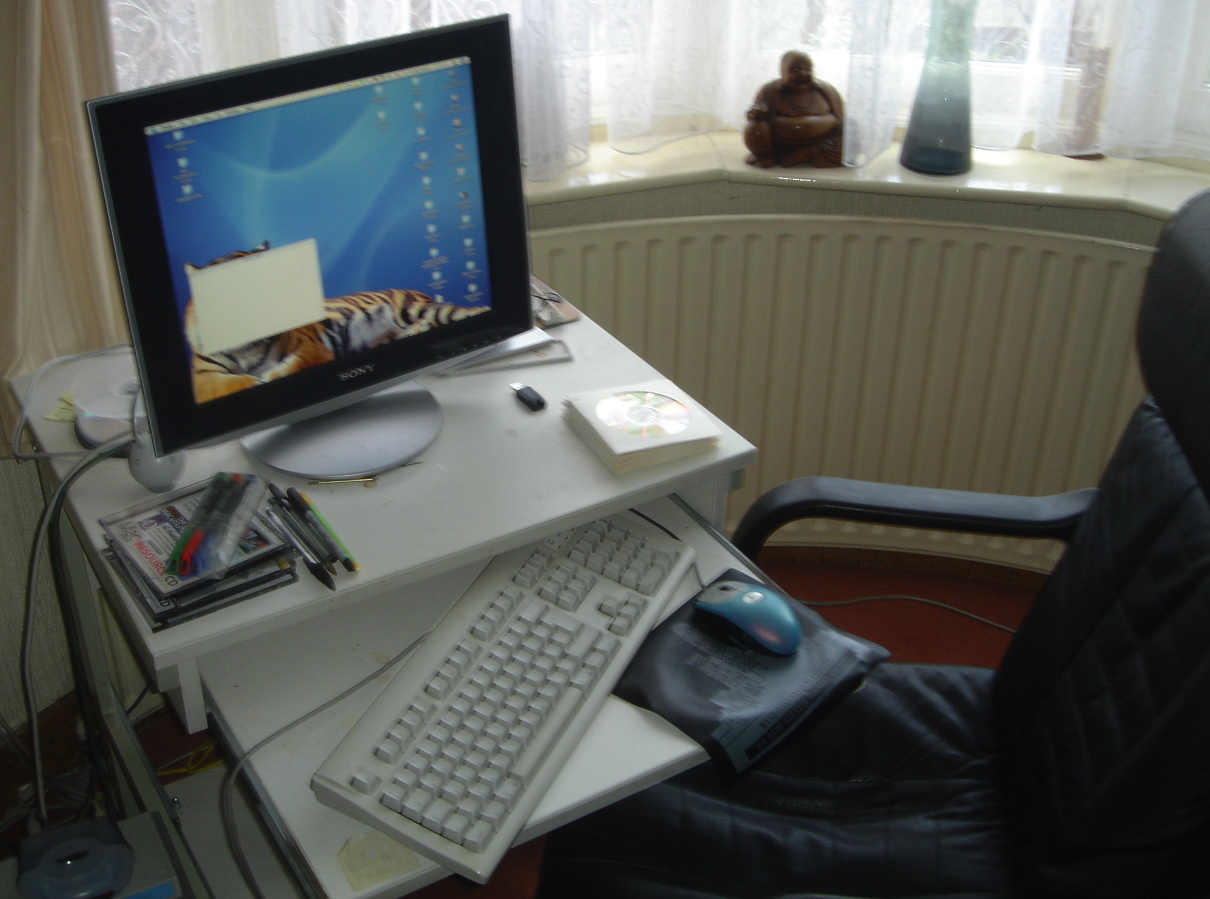
The last photo shows my keyboard, monitor, mouse and table